Vibe Designing in the Flow: How I Apply Vibe Coding Principles to UI and UX
AI Generated Image
Vibe coding is changing how developers approach programming. Instead of writing every line of code manually, they now describe what they want, and AI generates the structure. The developer becomes less of a code writer and more of a guide, someone who steers, tests, and refines the output.
This same shift is happening in design.
I call it vibe designing. Rather than building everything from scratch in Figma, I use a process where AI helps me move faster without losing intention or quality. It is not just about speeding up tasks, it is about designing from a feeling, a direction, and letting the tools do the heavy lifting.
Step 1: Create the visual foundation in Figma
I always begin by defining the design system. Fonts, colors, components, spacing rules, and styles all go into Figma. This is the base for the entire project, giving me a consistent and reusable structure to work with.
Step 2: Translate that branding into ChatGPT
Next, I open ChatGPT Pro and create a folder just for that project. I describe everything — font choices like Inter or Sora, the background and surface colors, accent tones, and button states. This way, GPT understands the visual language, and when I ask for help, it answers with full context.
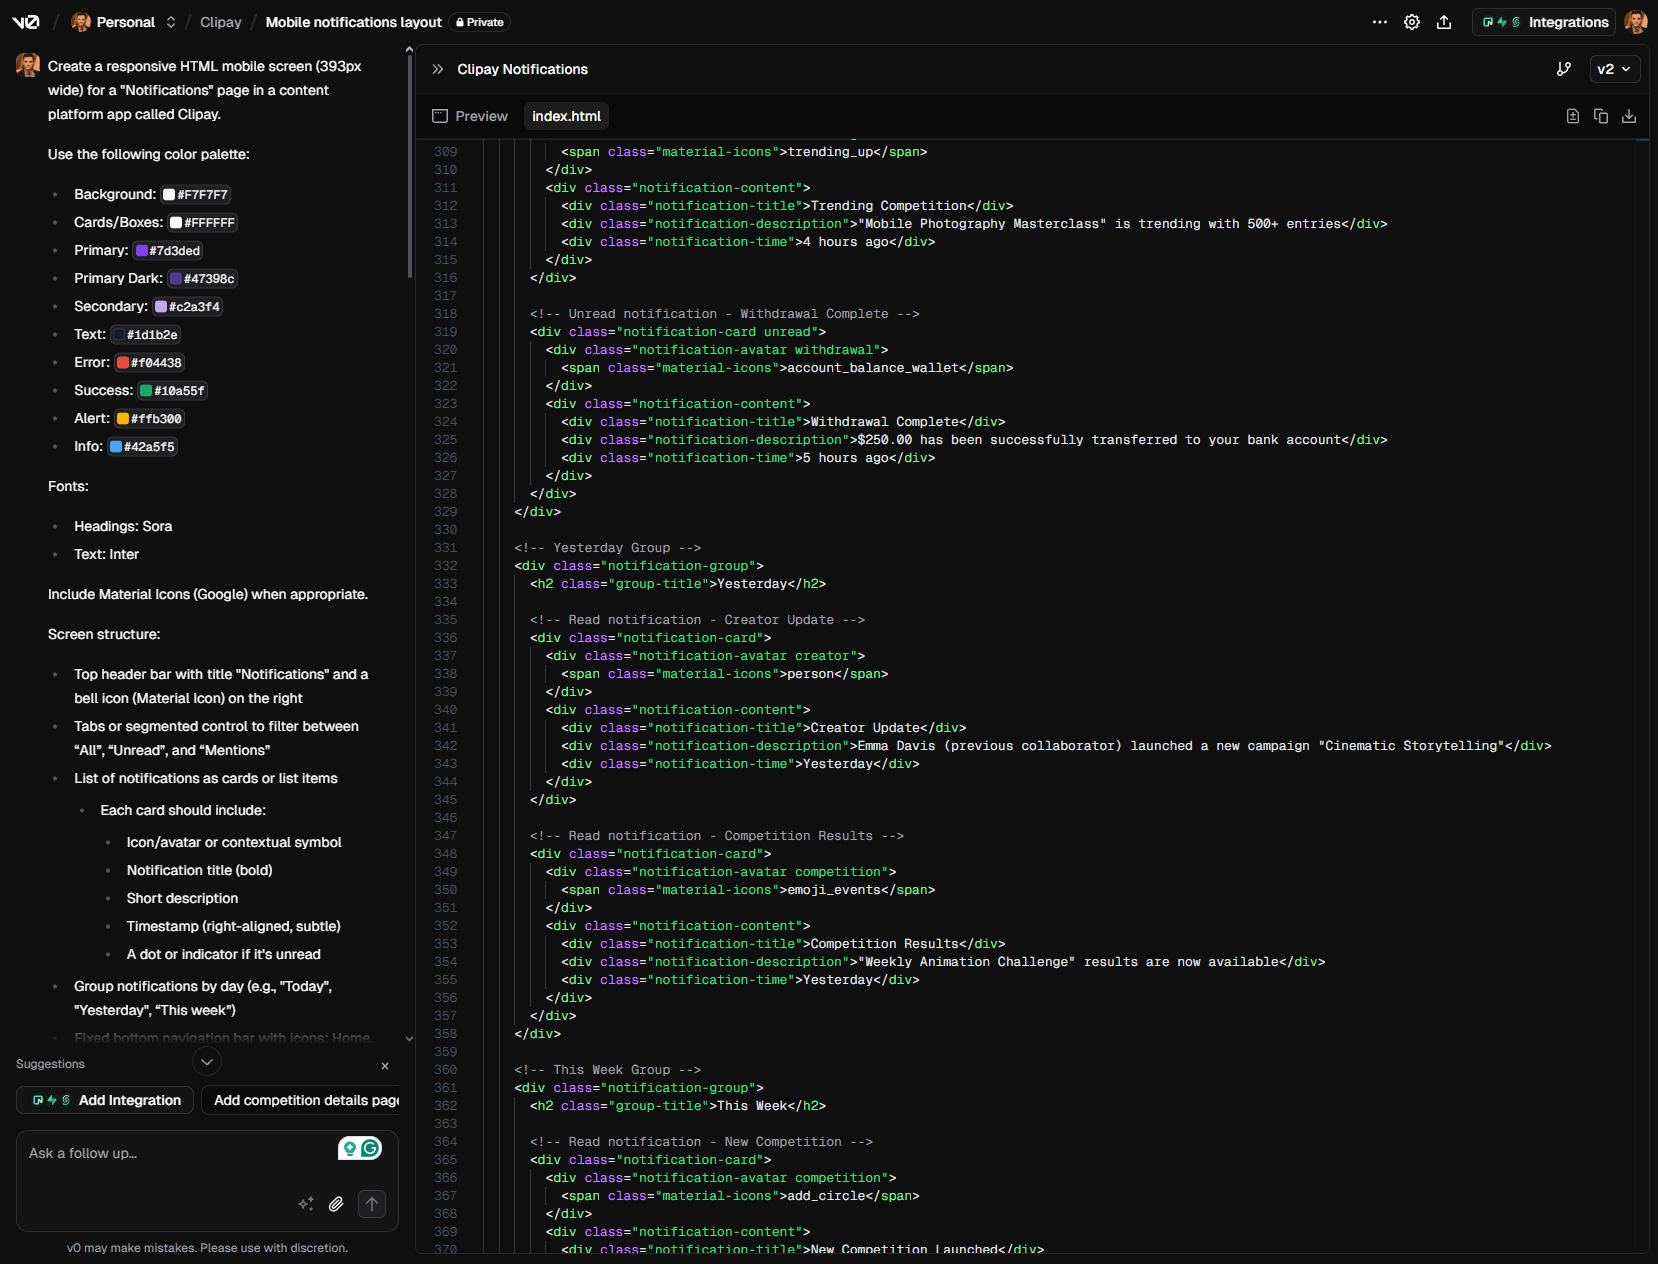
Step 3: Describe the screen I want, not how to make it
When I need a new screen, like a homepage, I explain what I want it to feel like. For example, I might say, “The screen should have a profile photo, a warm header, a call to action, and a few trending sections below.” GPT then writes a clean prompt for V0.dev based on that idea.
Step 4: Generate the HTML layout in V0
I copy the prompt, paste it into V0, and it builds an HTML layout for me. It comes with structure, tags, and spacing already in place. The result is a smart layout that matches the visual tone I imagined.
Step 5: Convert HTML to Figma, then refine
With the help of the HTML to Figma plugin, I paste the code and instantly get a wireframe in Figma. The styles are already aligned — proper headings, spacing, structure — so I only need to drop in the real components and make adjustments. I apply auto layout, fix small details, and the screen is ready.
The outcome
A screen that would normally take a full day to design now takes between thirty minutes and one hour. I save time, but more importantly, I stay in the flow of creativity. I am not slowed down by routine steps. I move from intention to execution with more freedom and less friction.
AI Generated Image
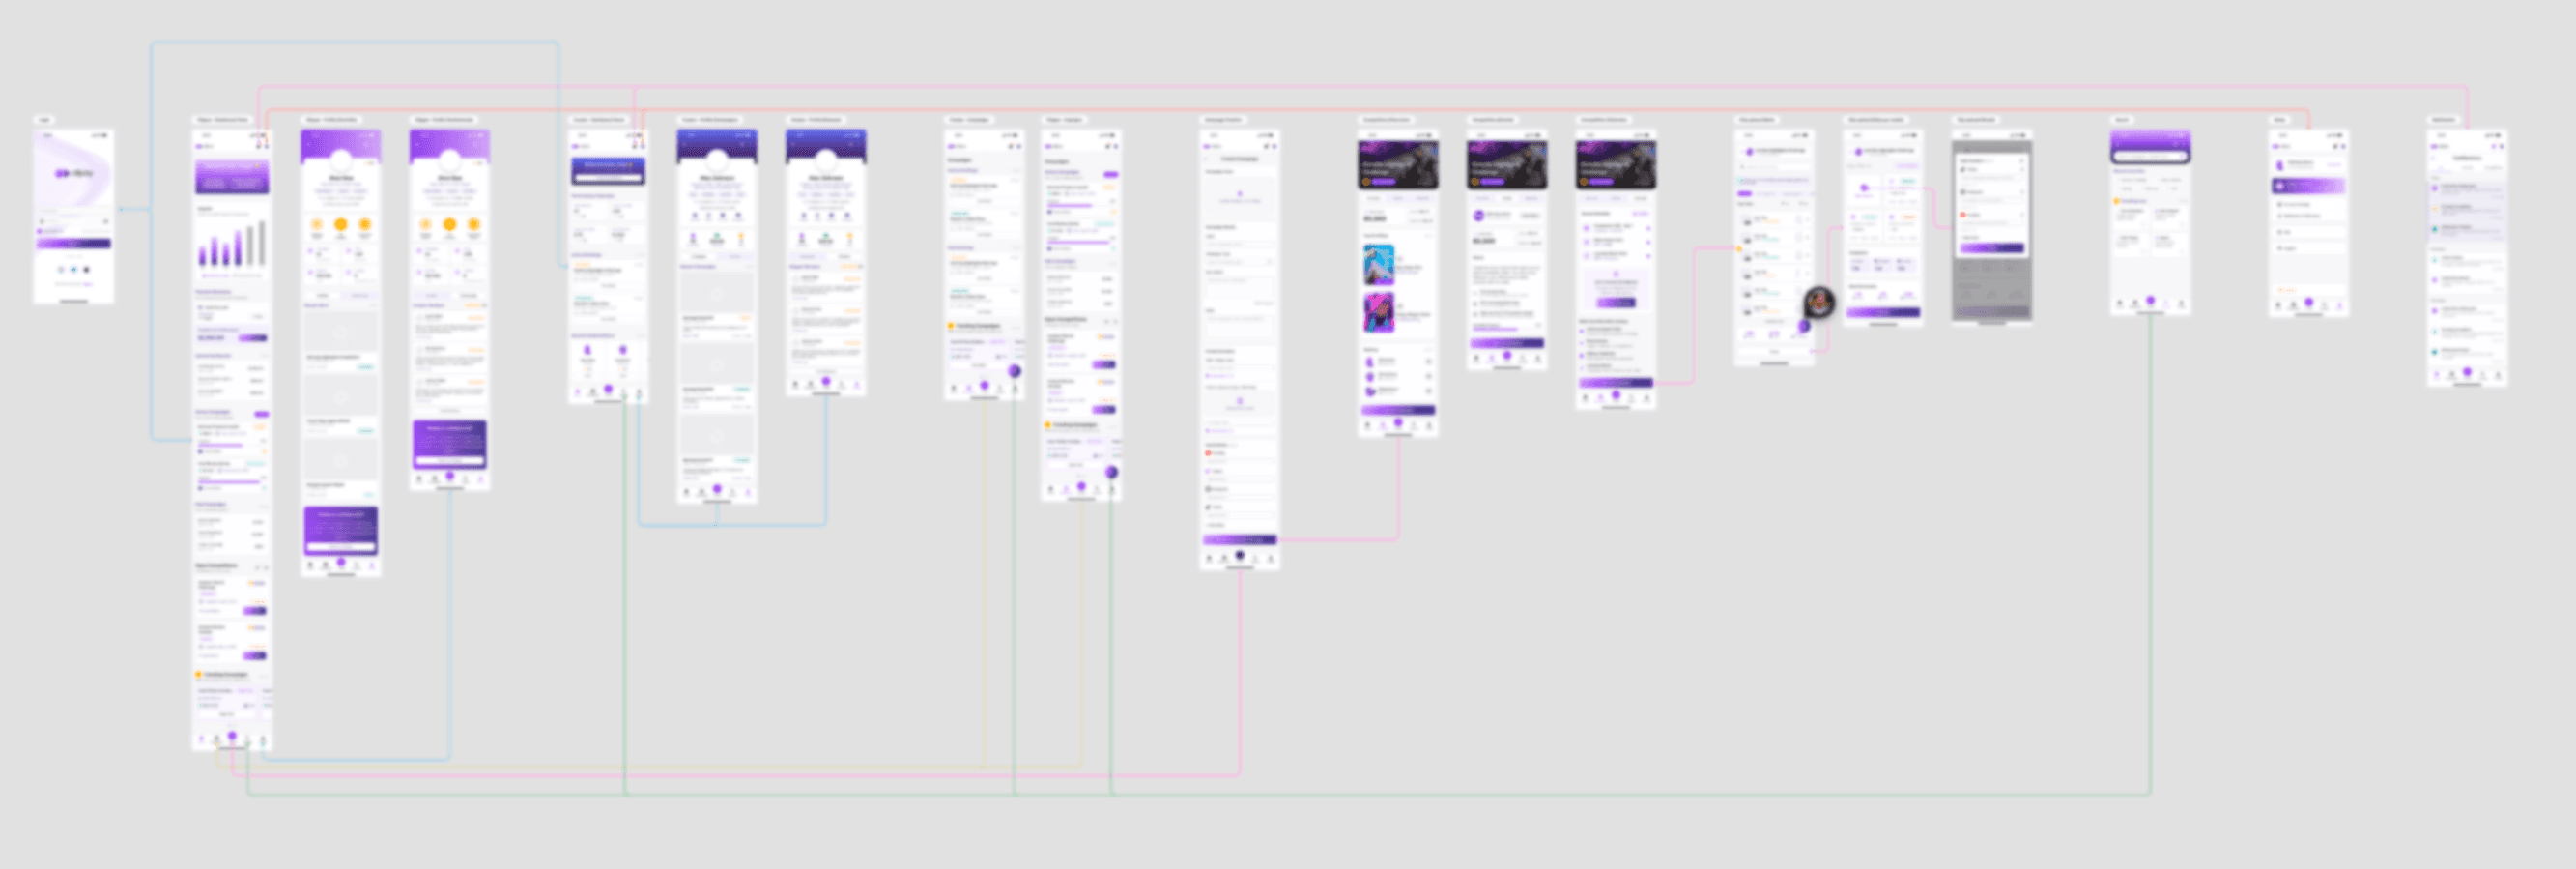
App Fully Designed with My Vibe Process (blurred for privacy reasons)